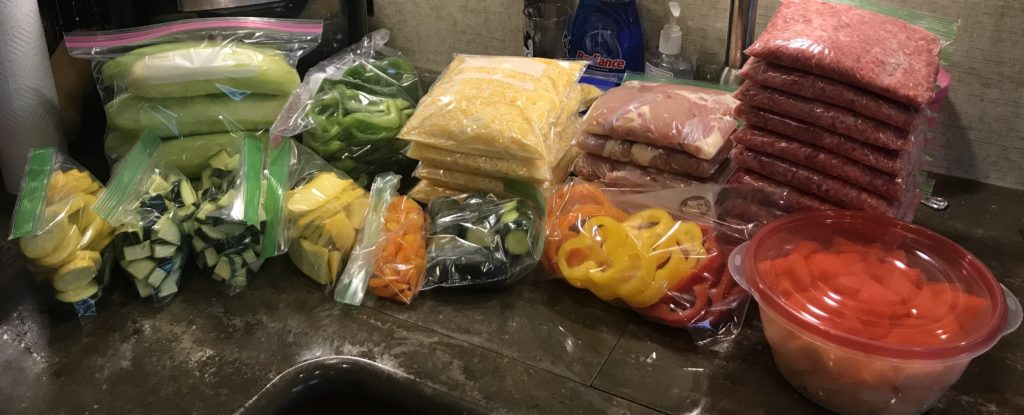
So, what can we do to save money on our grocery bill? This is a question that I am constantly asking myself, and maybe you are too. My answer? Food prep!! When I go to the grocery store, I always check out the meat department to see if there are any extra good deals going at the time. If so, I go ahead and take advantage of the situation and buy some (depending on the deal, I might buy a LOT) to take home and freeze for later. Not only will this help save money on the grocery bill over time, I’ve found that it also helps decrease the amount of times per month that we end up going out to eat fast food and such because “there’s nothing to eat!” By freezer prepping food, I’ve always got SOMETHING in my “stash.”

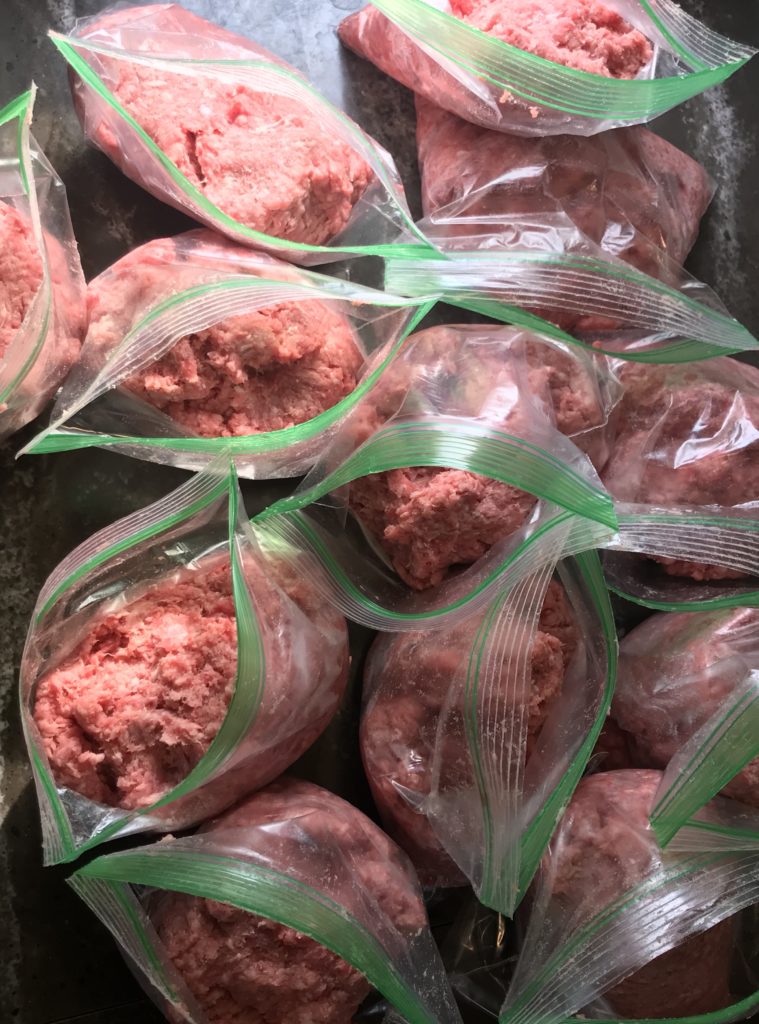
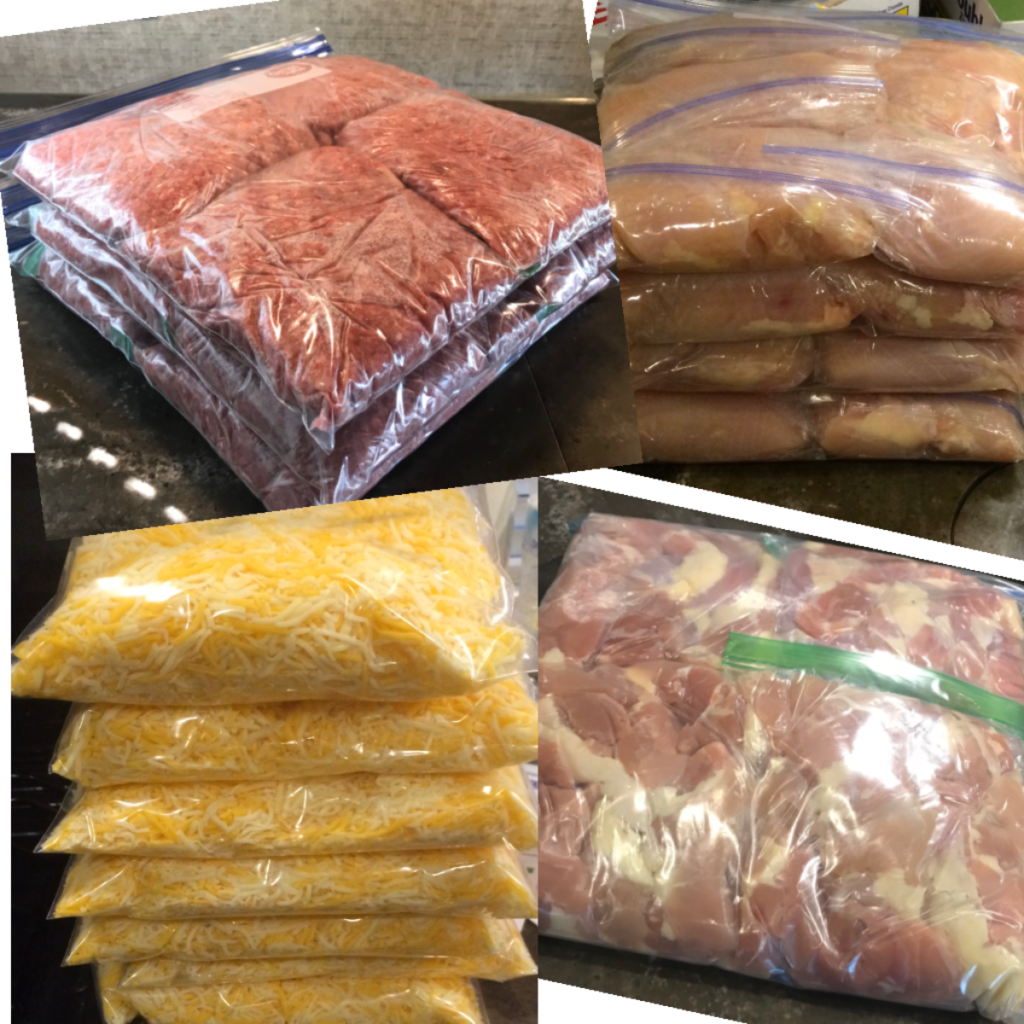
So, freezer prep is actually a LOT easier than some people make it out to be. I recently was gifted a vacuum sealer and bags from my wonderful MIL, and so far, I love it, but my freezer prep can be done without any fancy tools. All you need is regular sandwich bags and quart or gallon FREEZER bags, depending on what you are prepping. I also prefer to use gloves when I’m handling meats to keep everything a little cleaner, but they aren’t necessary either if you’d rather just wash your hands and clean up a bit more when you’re finished. Anyway, start by dividing things up evenly into the sandwich bags. Don’t overfill them. I typically like to divvy it up in amounts that I will use all at once when I pull it out of the freezer. For example, I divide my ground beef into 1 pound servings, chicken tenders into 1-1.5 pound (enough to cook and serve the 4 of us), 2 chicken breasts per package, 4 pork chops per package, etc. Never more in a single bag than I would cook in any particular recipe. If I want to double a recipe, I will simply have to pull 2 bags out of the freezer instead of just the 1.

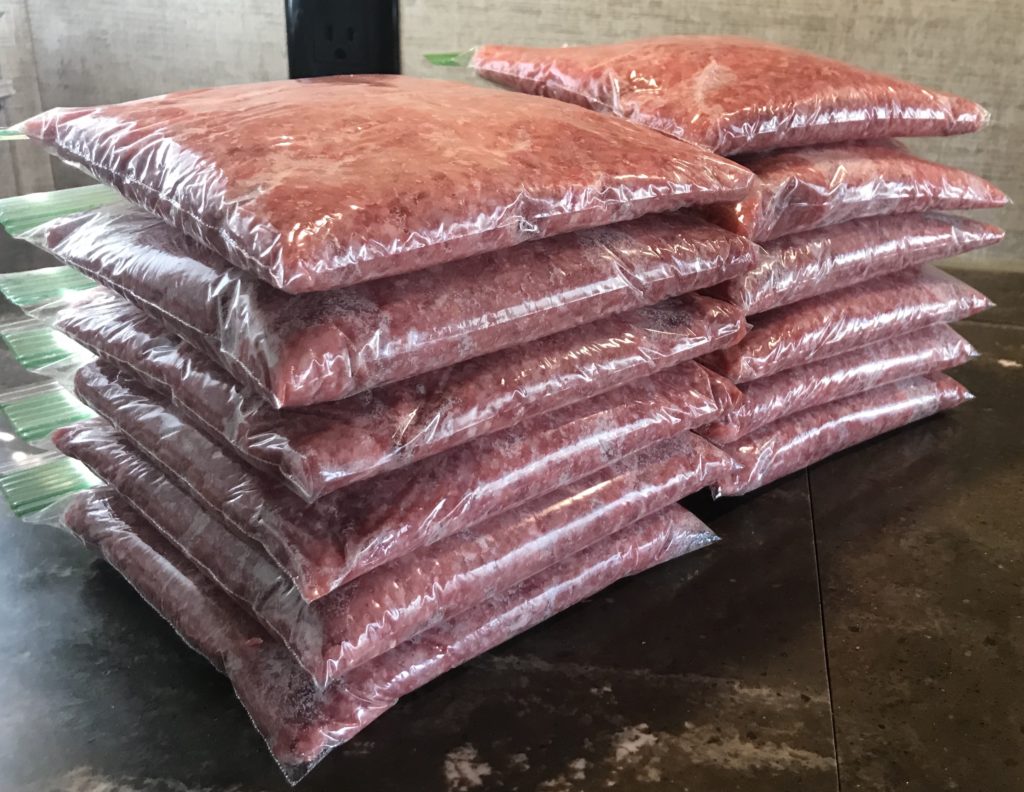
After dividing everything up evenly into your desired serving sizes, you will want to “flatten out” your bags. This will make storing them in the freezer much easier and allow you to fit much more in your freezer as well. Just be careful not to rip the sandwich bags with your fingers. Once they are flattened, you should easily be able to squeeze any excess air out of the bags as you zip them closed. At this point, you can write a date on them so you know what needs to be used by when. I “rotate” my stockpile, making sure that any new additions are put under or behind the older ones, and I typically use it all up so quickly anyway that I personally don’t usually bother with that step.

After you’ve flattened all your sandwich baggies, you can now start putting 4-5 sandwich bags into each gallon freezer bag, still keeping things as flat as possible, and squishing the air out as you zip them closed. Now, they are ready for the freezer! When you need a serving of something, it will be there! Easy, accessible, ready to be thawed and used! This can be done with just about any meat, raw or cooked, and even shredded cheese. (Since we use so much cheese in my family, I forego the sandwich bag and just use quart size freezer bags for each serving.)


Leave a Reply